- Select Administration.
- Select Manage Company Policies.
- Select the Accounts tab.
- Check the box next to each account that you would like to label.
- Select the pencil next to Edit Labels to start labeling your account(s).
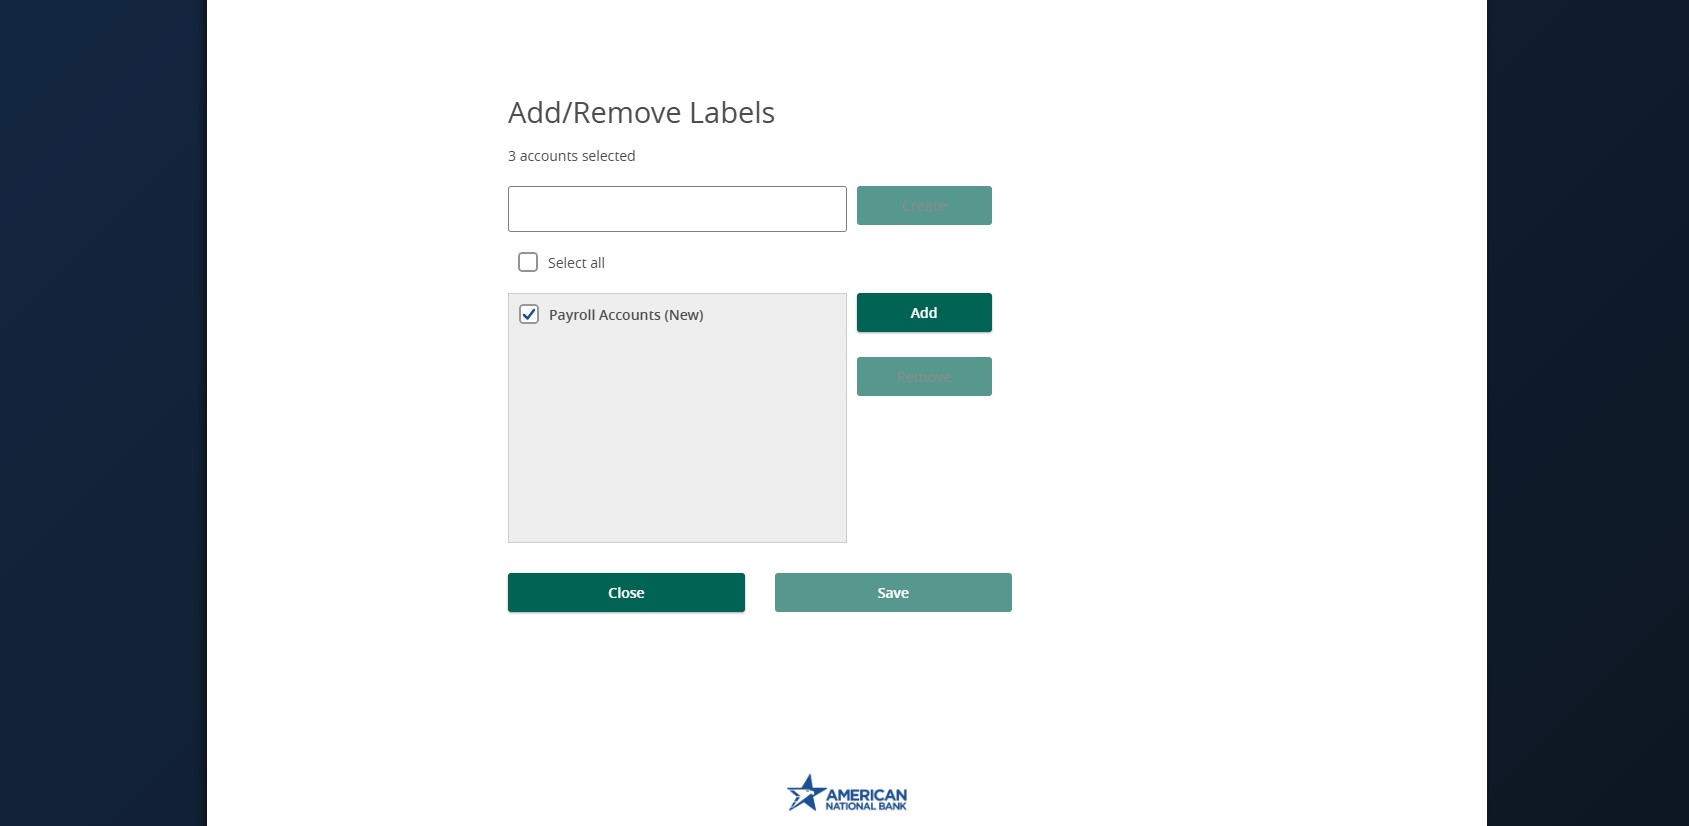
- Enter the desired label name.
- Select the Create button.
- Select Add to label the chosen accounts.
- Please note that if only one account is being set up with a label the Add button displays in place with Update. Click Update after the label name has been entered to save the label. The label name will be indicated next to each account that was selected. Accounts may be assigned to more than one label if desired.
- Select Save.
- Select Save again to save the changes to the Company Policy.
Note: For Enterprise & Enterprise Plus clients with 10 or more accounts.
Additional resources:
-
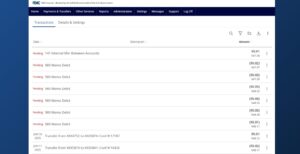
Account Details & History
Read moreFollow these instructions to view your account details and history.
-
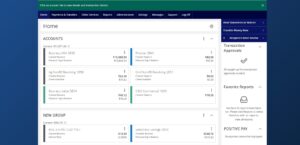
ANB Go Business Homepage
Read moreFollow these instructions to manage your ANB Go Business home page.