
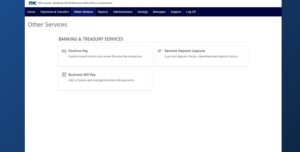
- Select Other Services and then Positive Pay.
- There are two ways to add a check within ANB Go Business.
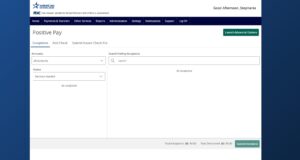
- From the Positive Pay screen, click the Add Check tab and complete the required fields. Click Add Check when done.
- Alternatively, you could click the Launch Advanced Options button to visit the full Positive Pay site.
- Select the Transaction Processing menu and then Add New Issued Check.
- Select the corresponding Client ID from the drop-down menu and complete all required fields.
- Enter the Dollar Amount.
- Enter the Payee. List the Payee exactly as it appears on the check. Please note, if you use payee matching for Positive Pay, this field must be filled out.
- Select the Account the check is written from.
- Enter the Issued Date of the check
- Enter the Check Number or serial number.
- Check the box next to Auto Increment Check Number if you are adding more checks in sequential order.
- Click Add Check. As you manually add checks, you will see them listed below the entries field.
- Submission of issued check files is a real time process. The checks are considered current outstanding issued items as of this point.
Additional resources
-
ACH and Check Positive Pay User Guide
Read moreView the user guide for ACH & Check Positive Pay.
-
Positive Pay – Submit Issued Check File
Read moreUse the Submit Issued Check File page to upload issued check files to American National Bank.
-
Positive Pay – Quick Exception Processing
Read moreThere are two ways to process exceptions – from ANB Go Business or the full Positive Pay site.
-
Positive Pay – Check Search
Read moreFollow these instructions to search for a check in Positive Pay.
-
Positive Pay
Read morePositive Pay is an online fraud prevention tool that gives you the ability to view checks and ACH transactions before they clear.