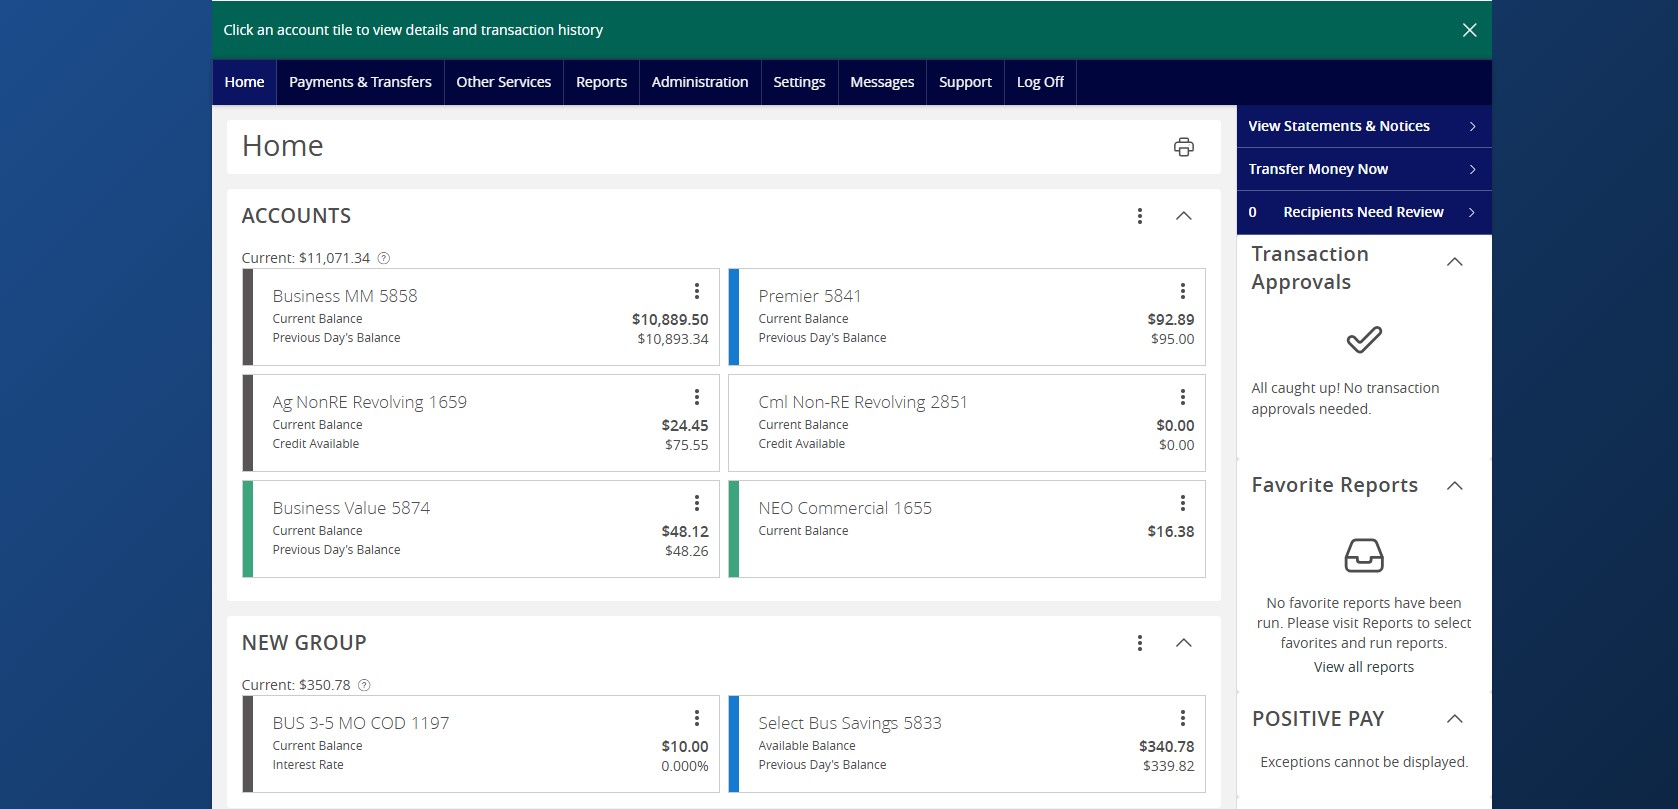
- The Home page displays a listing of accounts the user has access to within ANB Go Business.
- Click the three vertical dots on any account listed to access the View Activity, Quick Transfer, Nickname Account, Move to and Settings options.
- The Quick Action options on the right side of the screen provide shortcuts to various features within ANB Go Business.
- Note: To customize your homepage, select Settings from the top navigation, then Homepage Preferences. You can update your quick links, widgets and how your accounts are displayed.
- From the Home page, you can group accounts for viewing purposes.
- To create a new group, click the three vertical dots above the listing of accounts, then select Create New Group.
- Select an account that needs to be added and enter a Group Name, then click Save.
- Additional accounts may also be dragged into the newly created group or into the envelope (displays once account is dragged) to create a new group.
- The pie chart at the bottom of the screen displays both the Asset and Debt allocation for the listed accounts. Click on the desired option accordingly.
- Please note this feature is only available for Enterprise tiers and only displays if the Account list feature (from Homepage preferences) is off.
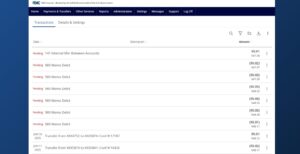
- To print transactions, select an account then click the three vertical dots and select print.
- Click the carrot next to Date, Description and Amount to sort the transactions.
- Click the carrot next to Date, Description and Amount to sort the transactions.
Additional resources:
-
Account Details & History
Read moreFollow these instructions to view your account details and history.
-
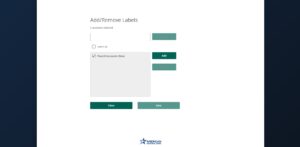
Account Labels
Read moreAccount labeling allows you to group accounts for easy identification when assigning within the User Roles, Company Policy and the Reporting features.