
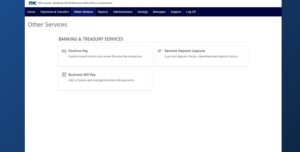
- Select Other Services then select Positive Pay.
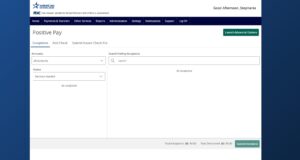
- Click Launch Advanced Options.
- Select the Transaction Processing menu and then Check Search.
- Checks can be searched by specifying various criteria listed on the screen according to need.
- Select the desired Client ID from the drop-down menu. This specifies which account(s) should be included in the search.
- The following fields are optional and may be utilized to narrow down the corresponding search.
- Select Check Status to specify the status of the check or checks being searched. All statuses will be selected by default.
- Indicate a check number range if desired.
- Select an item in the Date drop-down menu to specify a category. This corresponds to the type of date you would like to run the Check Search report for.
- Specify the Date Range of the check if this information is available to further narrow the search.
- Click the carrot next to Show additional options to uncover additional search options.
- Select a decision from the list based on whether the check was paid or returned.
- Select a reason from the list based on the reason that was selected.
- Indicate whether reversals should be included in the search by clicking the check box.
- Click Search once all desired criteria has been specified.
- The resulting checks will appear on the screen.
- To customize your view, you can drag a column header to reorder.
- Select the spyglass icon to filter and search all results or select a specific column to search within.
- Select the columns icon to select or remove columns from the report.
- Select the export icon to export the search results to a Microsoft Excel or PDF file.
- Select the Kabob icon on an individual search result to perform various actions.
- View audit history displays the history of all changes made to the record.
- You may also choose to edit, delete or view the record by clicking on it. Select the View drop-down menu to set how many items to be listed on each page.
Additional resources
-
ACH and Check Positive Pay User Guide
Read moreView the user guide for ACH & Check Positive Pay.
-
Positive Pay – Submit Issued Check File
Read moreUse the Submit Issued Check File page to upload issued check files to American National Bank.
-
Positive Pay – Quick Exception Processing
Read moreThere are two ways to process exceptions – from ANB Go Business or the full Positive Pay site.
-
Positive Pay – Add New Issued Check
Read moreUse the Add New Issued Check page if a check was manually written or was otherwise not included in the electronic issued check file that was submitted to American National Bank.
-
Positive Pay
Read morePositive Pay is an online fraud prevention tool that gives you the ability to view checks and ACH transactions before they clear.