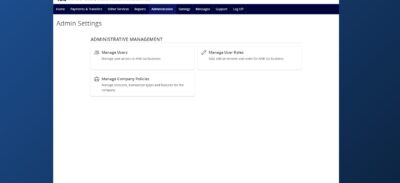
- Select Administration then select Manage User Roles.
- Select Create Role to create a new user role.
- Enter a Role Name and Description (optional) then select Ok.
- Under the Transactions tab, select a transaction type by clicking on the name.
- Select Rights tab.
- Click the drop-down menu next to the View option to establish the necessary view rights for the transaction type.
- All can view transactions initiated by any user within the company.
- Role can view transactions initiated by users who are assigned to the same user role.
- Account can view transactions initiated within accounts the user is entitled to within ANB Go Business.
- Own can only view the user’s own transactions.
- None cannot view any transactions.
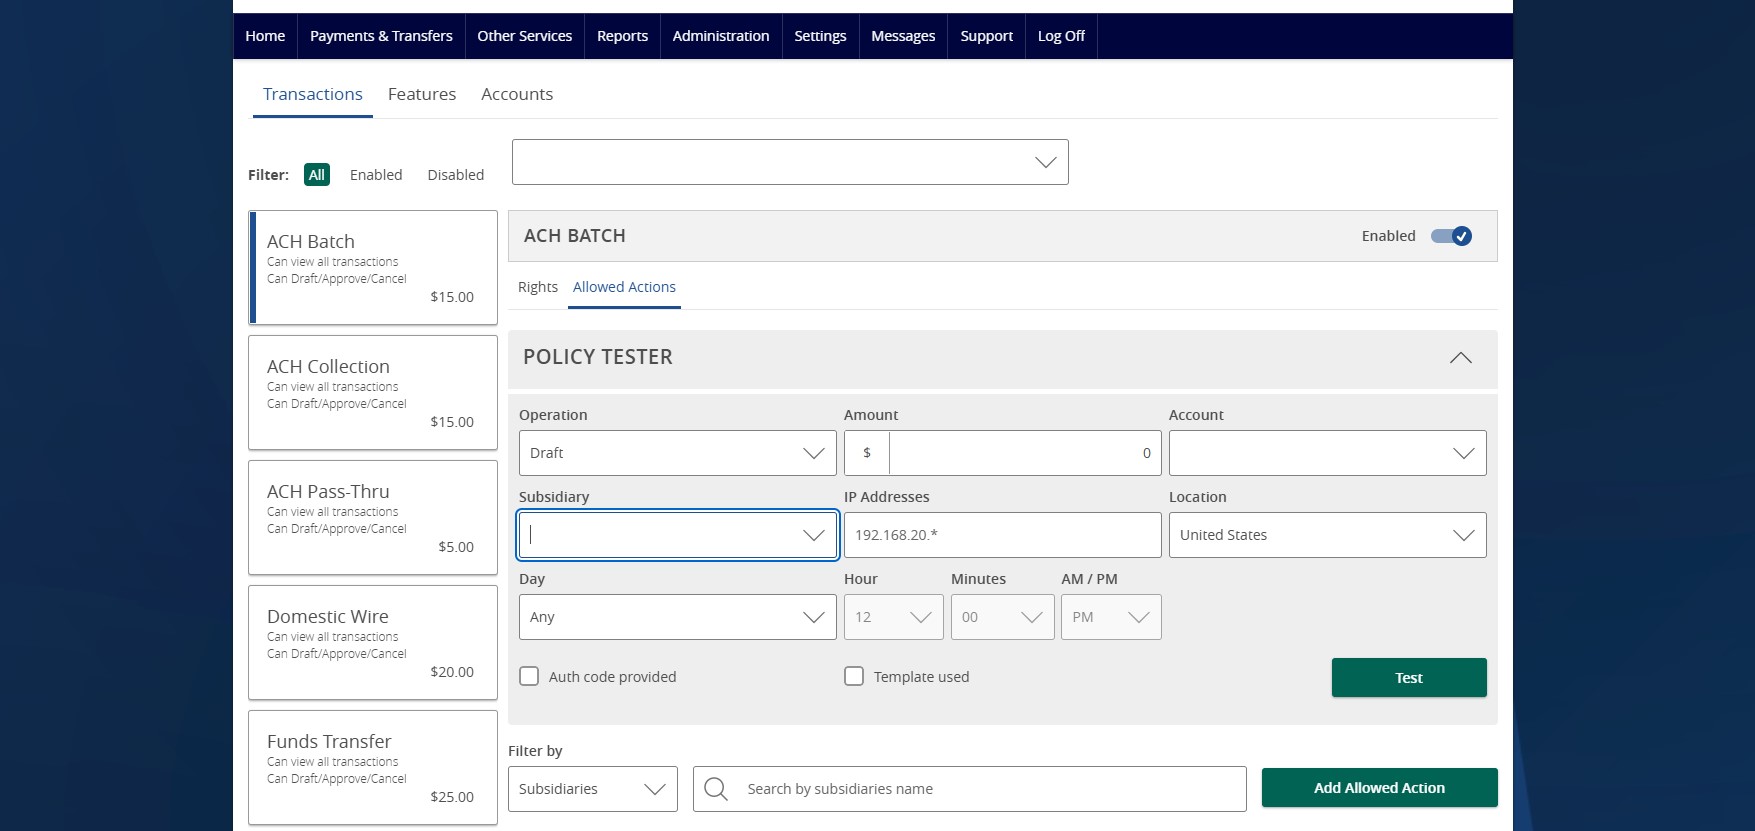
- Select Allowed Actions to specify the allowed action for the selected transaction type.
- Select Add Allowed Action tab.
- Next to the allowed action, click the three vertical dots then select Edit.
- Under Operations select the allowed operation(s) for the selected transaction type.
- Draft allows a user to initiate a transaction.
- Draft Restricted allows a user to only access an assigned ACH or Wire template. Adding new templates, creating one-time payments and recipient maintenance is not allowed.
- Approve allows a user to authorize a transaction.
- Cancel allows a user to cancel a drafted transaction.
- Under Amount select Any allowable amount or enter an amount using Specific Amount.
- Under Subsidiaries select Any allowed subsidiaries or click the Select specific subsidiaries link to choose specific subsidiaries.
- Under Accounts select Any allowed account or click Select specific account(s) link to choose specific accounts.
- Under Draft Hours select + Add Draft Hours to restrict hours of the day and days of the week when users will be allowed to draft the transactions of the corresponding type. Select the days and hours allowed for this transaction type then click the check mark.
- Select Submit.
- Complete for each transaction type.
- Use Policy Tester to validate the User Role functionality to assure the setup is correct. This is an optional step.
- If the policy test is unsuccessful, the reason for the failure will be designated on the screen.
- Use Approval Limits to view and modify the dollar and count limits assigned.
- Complete steps 4-19 for each transaction type.
- Select the Features tab to view and modify the non-transactional features. Use the toggle on each feature to enable or disable.
- Select the Accounts tab to view and modify the account entitlements by selecting the check mark or the cannot-do symbol under View, Deposit or Withdraw.
- The Show unassigned accounts link unhides accounts without any view, deposit or withdrawal access.
- Select Save button to save the User Role.
- Select the pencil icon to edit an existing user role.
- Select the double paper icon to copy an existing user role.
- Select the trash bin to delete an existing user role.
Additional resources:
-
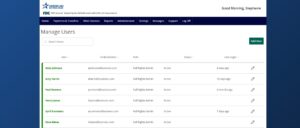
Essentials User Management
Read moreFollow these instructions to manage users in ANB Go Business.
-
Enterprise User Management
Read moreFollow these instructions to manage users in ANB Go Business.
-
Company Policy
Read moreThe Company Policy controls the company-level feature entitlements and dollar limits.