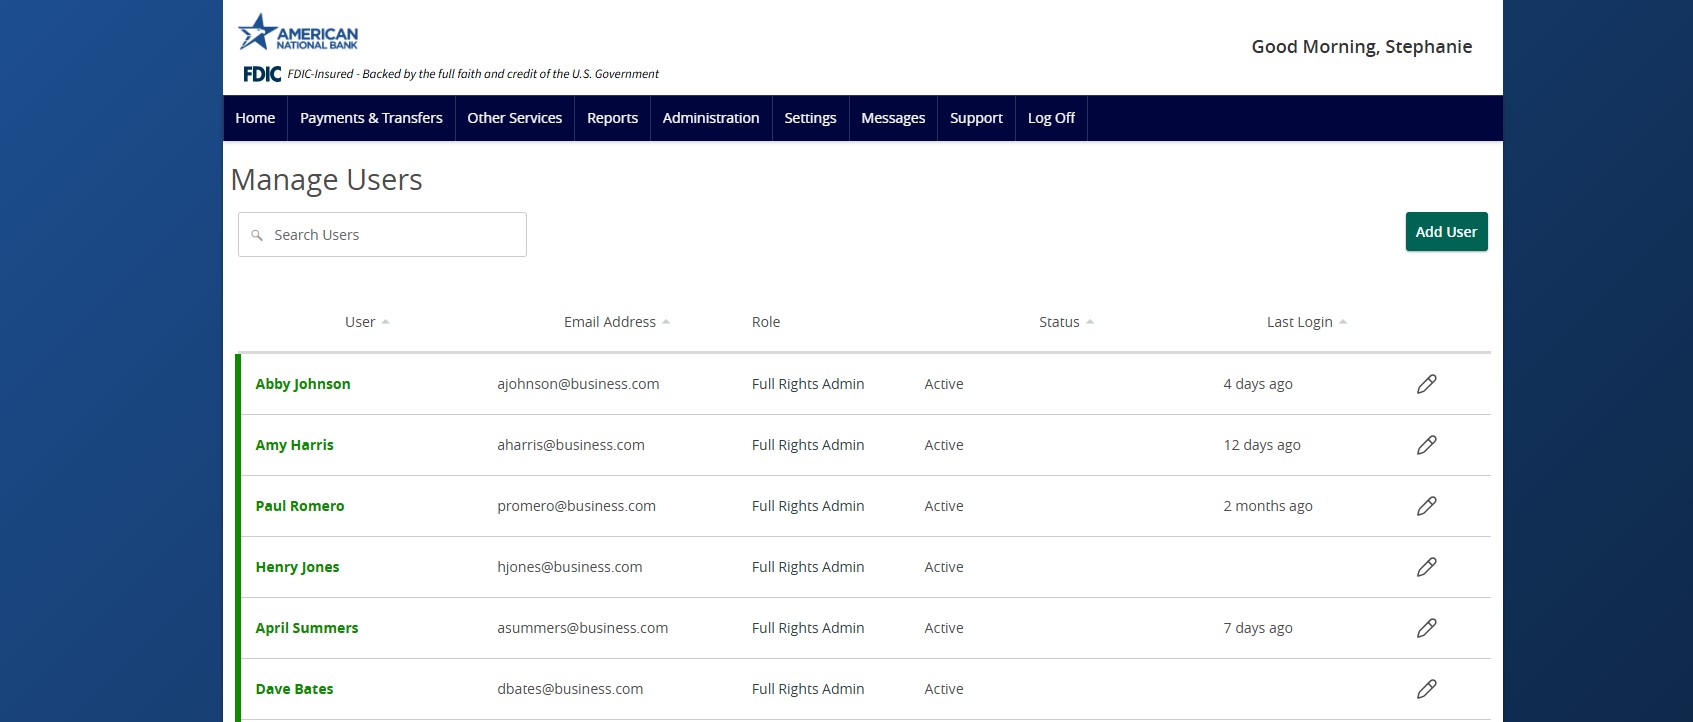
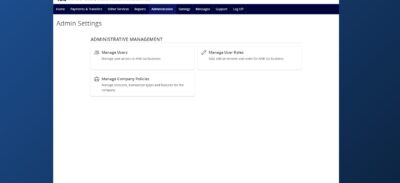
- Select Administration then Manage Users.
- Select Add User.
- Complete all fields on the Personal and Login Details sections.
- Select Save New User Details.
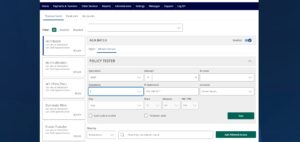
- Click on each transaction type listed to configure the user’s entitlements and limits.
- On the Rights tab, select the user’s Draft, Approve and Cancel rights by toggling the checkmarks on or off.
- Click the drop-down menu next to the View option to establish the necessary view rights.
- Can view all transactions allows viewing of transactions initiated by any online banking user within the company.
- Can view own transactions allows viewing of the user’s own transactions.
- Cannot view any transactions allows no transactions to be viewed.
- On the Approval Limits section, enter the user’s transaction dollar and count limits.
- Next, click on the Features tab.
- Select the appropriate non-transactional features the user should have access to by toggling the checkmarks on or off.
- Click on the Accounts tab to designate the user’s account rights.
- The circle with a slash means that access is disabled but can be enabled.
- The lock means that access is disabled for the company and cannot be enabled.
- The checkmark means that access is enabled.
- The Show unassigned accounts link unhides accounts without any view, deposit or withdrawal access.
- Click Save to complete the process.
NOTE: Admins adding new users to Positive Pay and Remote Deposit Capture will need to contact Treasury Support at [email protected] to compete setup prior to using these services. Send us your company name and the created username(s) so we can link the profiles to ANB Go Business.
Additional resources:
-
Enterprise User Management
Read moreFollow these instructions to manage users in ANB Go Business.
-
Company Policy
Read moreThe Company Policy controls the company-level feature entitlements and dollar limits.
-
Creating a New User Role
Read moreFollow these instructions to create a new user role.