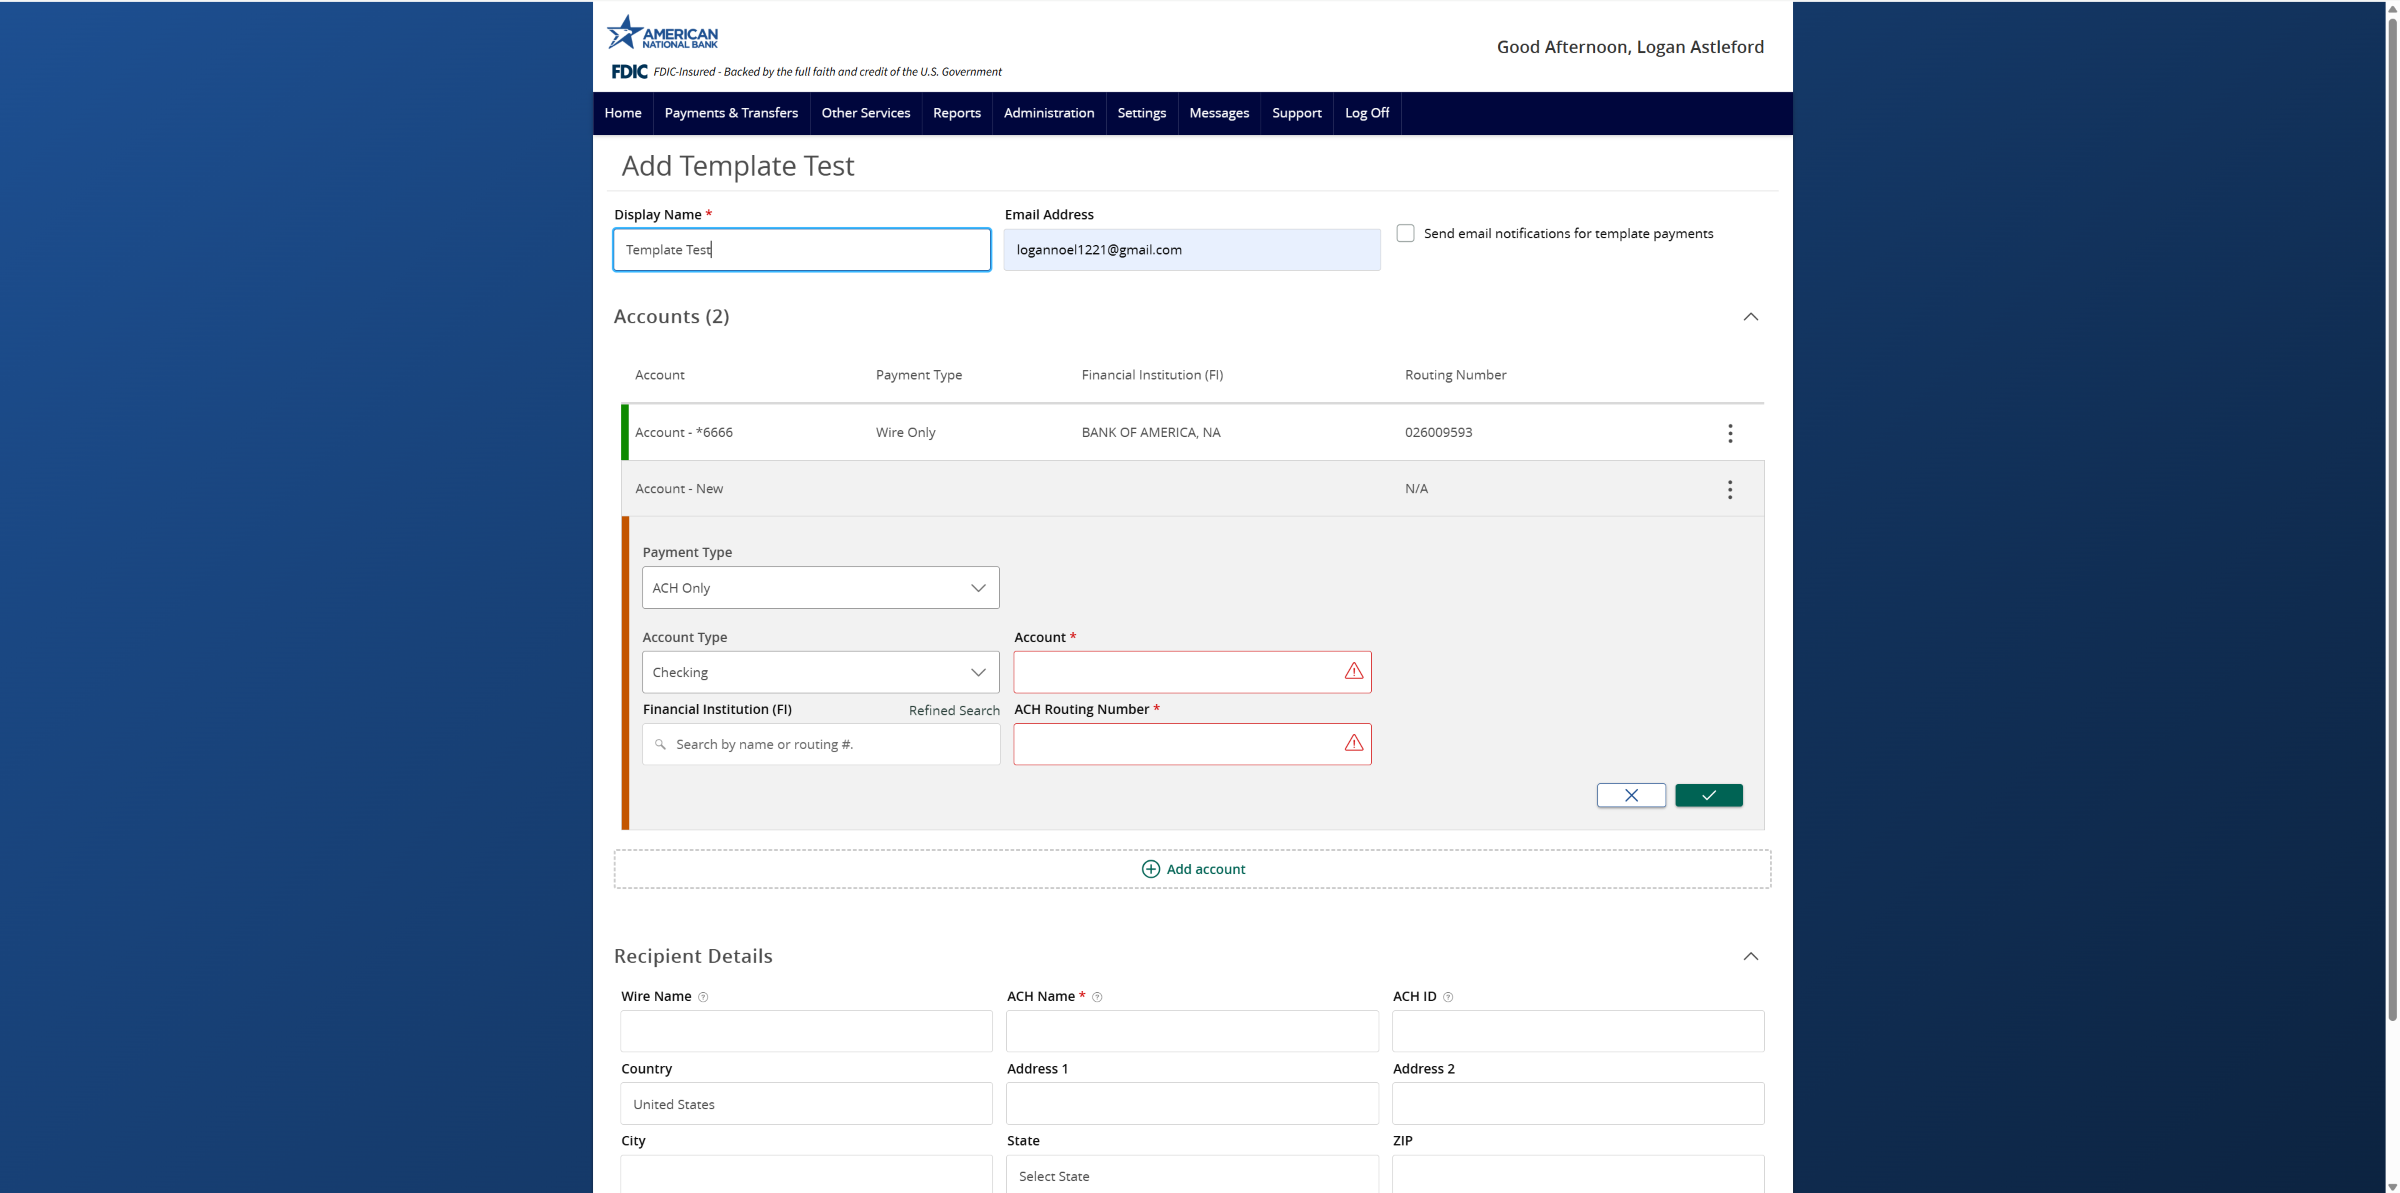
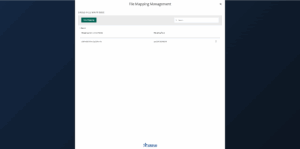
- To manage recipients, click Payments and Transfers, then click Recipients.
- Please note that a recipient is an individual or company, which may be either debited or credited via ACH or wire.
- To add a recipient, click the +Add new recipient button.
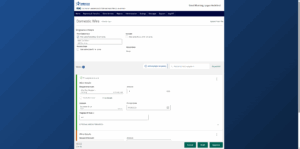
- Enter the Display Name.
- This is the value that is used when searching for the recipient when linking to a commercial payment or template.
- Enter the recipient’s e-mail address.
- This is required if the send e-mail notifications for template payments option is going to be selected.
- The send e-mail notifications for template payments option generates an e-mail to the recipient at the time the ACH or wire transaction is processed.
- The e-mail message does not contain confidential information.
- The Payment Type indicator designates which transaction type or types the account is eligible for.
- The ACH Only option will display only fields corresponding with ACH.
- Enter the recipient’s Account Type.
- Type an Account Number.
- Enter the Financial Institution (FI) name or Routing Number corresponding with the recipient’s account number in the financial institution search box.
- Select the desired Financial Institution.
- Select the Refined Search link option to search for a financial institution by City and or State.
- This is an optional step.
- The Wire Only option will display only fields corresponding with wires.
- Enter the recipient’s Account Number.
- Enter the Financial Institution (FI) name or Routing Number corresponding with the recipients account number in the financial institution search box.
- Select the desired Financial Institution that will receive the wire transfer from the resulting list.
- This will populate the Beneficiary FI fields listed on the screen.
- The ACH and Wire option will display fields corresponding with both ACH and wires.
- Click the check mark button when complete.
- Select +Add account button to add an additional account.
- Enter the ACH Name and or Wire Name.
- These are the values that are inserted into the ACH and wire files.
- If the recipient will not be allowed for ACH or wires, leave the corresponding field empty.
- Enter ACH ID which is the recipient ID in the ACH file if desired.
- This is an optional step.
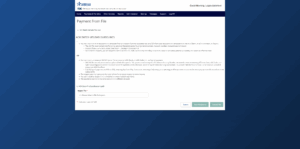
- Enter the recipient’s physical address information on the bottom half of the screen.
- Only fields designated with an asterisk are required.
- Click Save Recipient when complete.
Tutorials & guides
-
Bill Pay User Guide
Read moreSchedule and manage your payments using Bill Pay.
-
Transfer Money
Read moreFollow these instructions to transfer money in ANB Go Business.
-
Online Transaction Activity
Read moreFollow these instructions to view and search your online transaction activity.
-

Multi-Account Transfers
Read moreFollow these instructions to perform multiple internal account transfers at once.
-
Wire Upload from File
Read moreThe wire upload function allows you to upload a formatted CSV file containing multiple wire transfers instead of inputting the wire information manually.
-
Split Transactions
Read moreThe split transaction option is available for recipients of Payroll transactions who have at least two accounts.
-
Recipient Upload from Batch
Read moreFollow these instructions to upload a recipient list from a batch.
-
Multi-Wire Origination
Read moreFollow these instructions to send multiple wires.